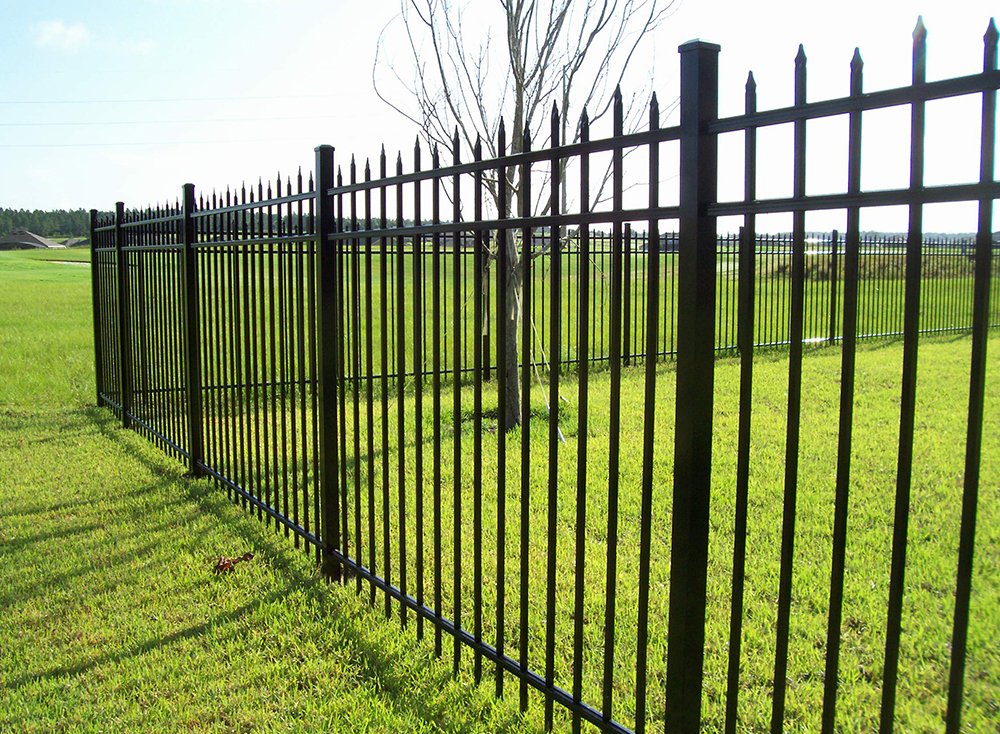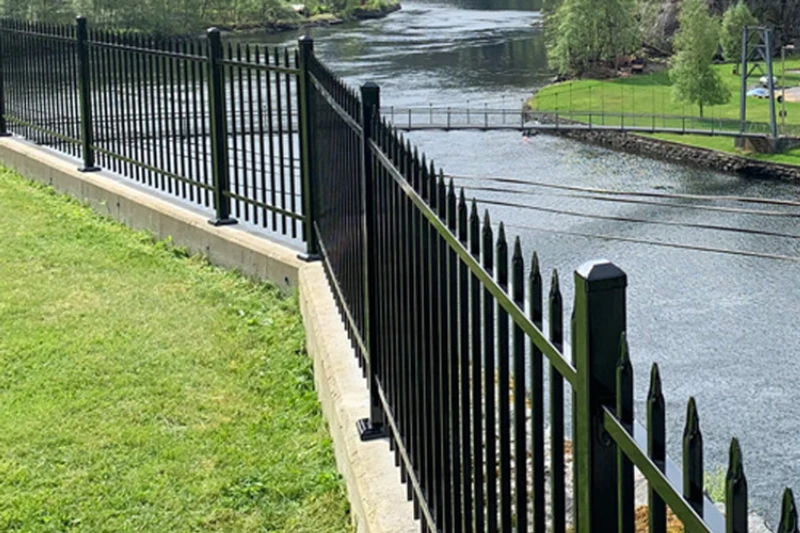
Installing an iron fence enhances security, adds aesthetic appeal and increases property value. At Kelai Outdoormetal, we specialize in high-quality metal fences and metal railings. This guide will walk you through the proper installation process for a durable and long-lasting fence.
Iron Fence Installation Methods
There are two primary methods for installing an iron fence:
- Concrete Footing Installation — — provides maximum stability, ideal for permanent fencing
- Surface-Mounted Installation —— easier and faster, suitable for temporary or less demanding applications
Below, we’ll cover the concrete footing method, which ensures the strongest and most secure installation.
Step-by-Step Iron Fence Installation Guide
1.Planning & Preparation
- Check Local Regulations : verify local laws and obtain necessary permits
- Measure the Area : mark fence lines with stakes and string
- Gather Tools & Materials
- Iron fence panels and posts
- Concrete mix
- Post hole digger
- Level
- Drill and screws
- Gravel (for drainage)
2.Digging Post Holes
- Space holes 6-8 feet apart (depending on panel width).
- Dig holes at least 1/3 the height of the post (e.g., 24″ deep for a 6-foot fence).
- Add 2-3 inches of gravel at the bottom for drainage.
3.Setting Posts in Concrete
- Place the post in the hole and use a level to ensure it’s straight.
- Mix and pour concrete, filling the hole around the post.
- Let the concrete cure for 24-48 hours before attaching panels.
4.Attaching Fence Panels
- Align panels between posts and secure with brackets or welding.
- Ensure panels are level and evenly spaced.
- Use self-tapping screws or rivets for a sturdy connection.
5.Adding Finishing Touches
- Install post caps for a polished look.
- Apply rust-resistant paint if needed.
- Inspect all connections for stability.
By following this guide, you can install an iron fence correctly for maximum durability and security. For more tips or custom fencing solutions, trust Kelai Outdoormetal – your expert in high-quality metal fencing.